The Empty Nest |
|
|---|---|
| Location | New Atlantis |
| Reward | Boosted Razorback Modified Calibrated Rattler 7200 Credits 385 XP |
| Previous | The Old Neighborhood |
| Next | Into the Unknown Back to Vectera All That Money Can Buy |
The Empty Nest is a Main Mission in Starfield. The Empty Nest tasks the player with seeing where the expedition run by Sam Coe will go. Completing Missions allows players to learn more about the world and characters in Starfield. Players can take on Main Missions which progress the main story forward, and other types types of optional secondary missions that do not. These Side Missions enrich the lore of the game while presenting optional NPCs, Enemies, or Bosses that are not directly tied to the main storyline. Completing Missions earns players experience, Weapons, Armor, and other types of loot.
__descriptionstart__
Table of Contents for Starfield The Empty Nest
- Starfield The Empty Nest Unlock Requirements
- Starfield The Empty Nest Rewards
- Objectives for The Empty Nest in Starfield
- Walkthrough for The Empty Nest in Starfield
- Other Notes & Tips for Starfield The Empty Nest
How to unlock The Empty Nest in Starfield
The Empty Nest can be unlocked by the following NPC or the following actions:
- Automatically obtained after completing The Old Neighborhood. This Mission is unlocked at The Lodge on New Atlantis, Jemison in the Alpha Centauri System.
Starfield The Empty Nest Rewards
__descriptioncompleted__
The Empty Nest gives the following rewards once completed:
- Boosted Razorback
- Modified Calibrated Rattler
- 7200 Credits
- 385 XP
Starfield The Empty Nest Objectives
- Talk to Sam Coe
- Travel to Akila City
- Talk to Sam
- Complete "Job Gone Wrong"
- Go to the Galbank Vault
- Search for the Maps
- Talk to Sam
- Talk to Jacob
- Talk to Sam
- (Optional) Talk to Jacob and persuade him
- (Optional) Talk to Jacob and have Sam distract him
- (Opational) Ask Cora for help
- Get the Maps
- Talk to Sam
- Travel to the Empty Nest
- Get the Artifact
- Leave the Hideout
- Deal with Shaw
- (Optional) Kill the Ashta
- (Optional) Talk to Shaw
- Return to the Lodge
- Add the Artifact
- Wait for Sam
- Talk to Sam
Starfield The Empty Nest Walkthrough
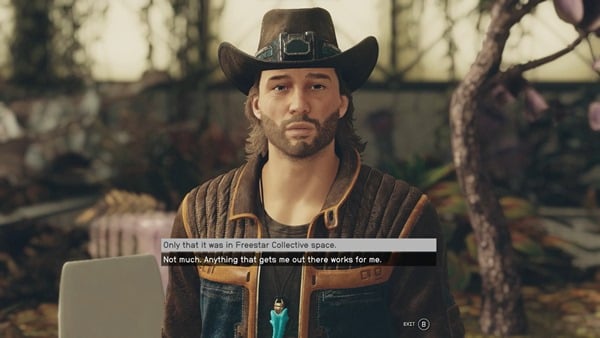
The Empty Nest is one of three missions that unlock after completing The Old Neighborhood. The other two are Into the Unknown and Back to Vectera, and any of these three missions can be completed in any order. Sarah will ask you to speak to Sam Coe to ask him more about an expedition he's planning on running. Head into the gardens of The Lodge to find him with his daughter, Cora Coe. When you ask Sam about the expedition, he'll inform you that the three of you are heading to Akila City on Akila to find another Artifact.

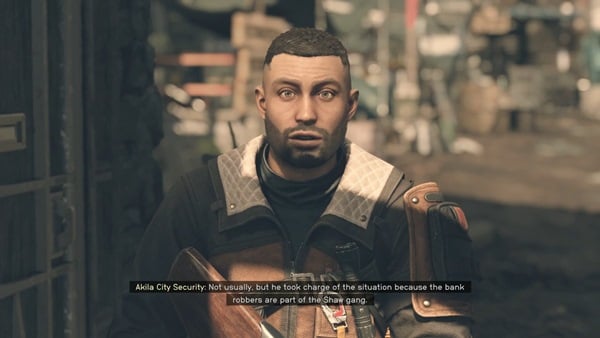
Fly over to Akila in the Cheyenne System, where you'll be scanned for contraband by the Freestar Rangers, and touchdown at Akila City. Speak to Sam by the entrance to the city to learn the details of what you'll be doing on Akila. He'll be locked in as your Companion for the mission after speaking with him. Your first course of action is to head to the GalBank vault to find maps created by one of Sam's ancestors. As you approach the bank, you'll be stopped by a security guard warning you that there's been a bank robbery. You can offer to help, to which you'll gain Sam's approval.

The Faction Mission Job Gone Wrong will begin here and must be completed before being able to search GalBank. After you do so, return to the bank and head downstairs into the vault. There will be multiple quests markers here leading to different storage lockers. The one you're looking for a storage lock containing the Note for Sam. If you read the note, you'll learn that Jacob Coe took all the maps, knowing that Sam would be back for them.

Speak to Sam, and if you want to, you can Persuade him to tell you who Jacob is. You'll have three turns to get 4 Persuasion 'points'. Below are examples of choices that give you persuasion 'points':
- We're going to the estate anyway. I'm going to find out. (+2)
- We can't work together if you don't trust me. (+2)
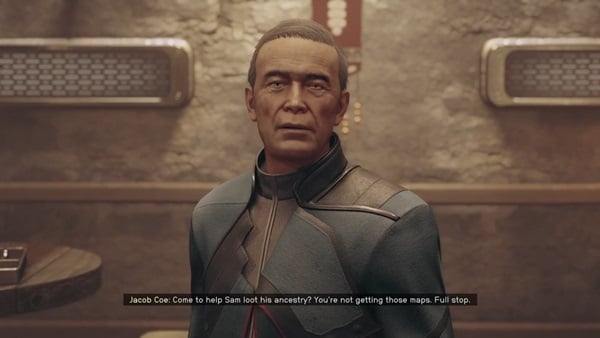
Succeed in the persuasion and he'll tell you that Jacob is his father and that they're not on good terms. You'll then have to follow your quest marker to the Coe Estate to speak to Jacob. He refuses to give up the maps due to his feud with his son. Speak to Sam once more and you'll have three options - you can try to convince Jacob to give up the maps, you can ask Sam to distract Jacob while you sneak in for the maps, or you can ask Cora to help convince Jacob to give up the maps.

If you choose the first option, you'll have to speak to Jacob and Persuade him to cooperate. You'll once again have three turns to get 4 Persuasion 'points'. Below are some examples of Persuasion options:
- Constellation just wants to follow up on Solomon's work. (+2)
- The sooner you agree, the sooner we're out of your house. (+4)
Jacob will relent and give you the key to the room he's standing in front of if you succeed. Grab Solomon's Maps found on top of one of Jacob's drawers. Sam will deduce that the Artifact can be found in a cave within Shaw Gang territory. The Empty Nest can be found on Akila as well, so all you have to do is run towards the next mission marker.
When you get to the Empty Nest, start sneaking because the area has turret defenses that will gun you down very quickly. You'll find the Turret Control system in a small tent right on the outskirts of the Empty Nest. You can either deactivate the turrets or calibrate them to protect you. Move towards the next mission marker, defeating the Shaw Gang members on the way. Upon reaching the mission marker, enter the Empty Nest.

Defeat the Shaw Gang members at the entrance to the cave. One of them will drop the Shaw Gang Cave Key needed to unlock the gate ahead. Continue forward into a cave full of Antimony and Caelumite. Down and at the end, you'll find another Artifact you can pick up - Artifact Chi. Another bout of visions will enter your mind, but you won't black out this time. Leave the hideout with Sam once you obtain the Artifact.

As soon as you exit the Empty Nest, you'll be confronted by Shaw herself. She'll demand payment for the loss of her hideout, but can be persuaded to back off in exchange for nothing. To do this, you'll have three turns to get 6 Persuasion 'points'. Below are some examples of Persuasion options:
- We got past all your crew before. You fight us, you'll lose. (+4)

Succeed and she'll let you leave peacefully. Before you get to leave, however, an Ashta will appear and attack the hideout. It's optional to help Shaw Gang deal with the Ashta, but if you do, Shaw will reward you with a Boosted Razorback. Return to the Lodge and place the artifact you found with the rest. Partake in the Constellation meeting and the quest will end, with you unlocking Sam as a potential Companion.
Starfield The Empty Nest Notes & Tips
- Other Notes & Tips for Starfield The Empty Nest go here
